Up and running in minutes
Five steps to your first fully validated 3D board.

1. What files do you need
ZofzPCB works with the files your CAD tool already generates. Bring at least one of the following:
- Gerber file set: layer images (.gbr, .gtl, .gbl, .gko etc.) plus drill files (.drl, .xln)
- ODB++: single packed file or folder
- IPC-2581: single XML file (recommended: most complete format)
To get the most out of ZofzPCB (including 3D component models), also bring:
- BOM file: component list in CSV format
- Netlist file: IPC-356 format, exported from your CAD tool
Not sure how to export a netlist? See the netlist export FAQ for step-by-step instructions for Eagle, KiCad, Altium, and Protel.
Not installed yet? Download ZofzPCB first →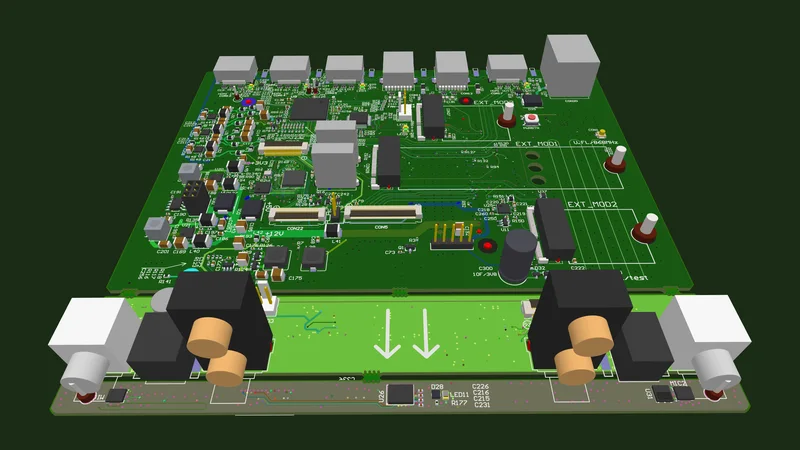

2. Load your project
The fastest way to get started is the autoloader. It detects your file format, identifies your layers, and proposes the stackup automatically.
- Open ZofzPCB
- Go to File → Open → Gerber and navigate to the folder with your Gerber files
- The autoload panel appears and shows which files will be loaded and how they are recognized
- Review the layer assignments: confirm that top copper, bottom copper, drill, and board outline are correctly identified
- Press EXECUTE Gerber Autoload
For ODB++ and IPC-2581, go to File → Open → ODB++ or File → Open → IPC-2581 and select your file directly. The autoloader is not needed. Prefer to sort files yourself? Use File → Manual File Import: a file browser and the stackup window open, and you drag each file into its function container.
Auto Load in the User Manual →
3. Review and complete your stackup
Before ZofzPCB renders your board, it proposes a stackup based on what it detected from your files. This is your moment to review and, if needed, complete it.
Gerber files carry copper artwork but not stackup parameters. ZofzPCB makes a smart suggestion, but these parameters need to be reviewed and completed by you:
- Layer order: top copper at the top, bottom copper at the bottom
- Layer type: core or pre-preg for each dielectric layer
- Thickness: in millimeters
- Copper weight: typically 1oz, 2oz, or 0.5oz per copper layer
- Material: FR4, Rogers, polyimide, or other substrate
How much detail do you need?
- For 3D visualization only: basic layer order and assignments are sufficient. ZofzPCB renders a visually correct prototype without full stackup detail.
- For DFM validation: complete material, thickness, and copper weight data is essential. If you plan to use ZofzPCB for pre-production sign-off, get this right from the start.
Once you are satisfied, press OK: Read & Render.
Configuring the stackup in the User Manual →
4. Navigate your board
Your board is now rendered in full 3D. Here are the controls you will use most:
- Rotate: Left mouse button + drag
- Pan: Right mouse button + drag
- Zoom: Scroll wheel
- Reset View: Spacebar
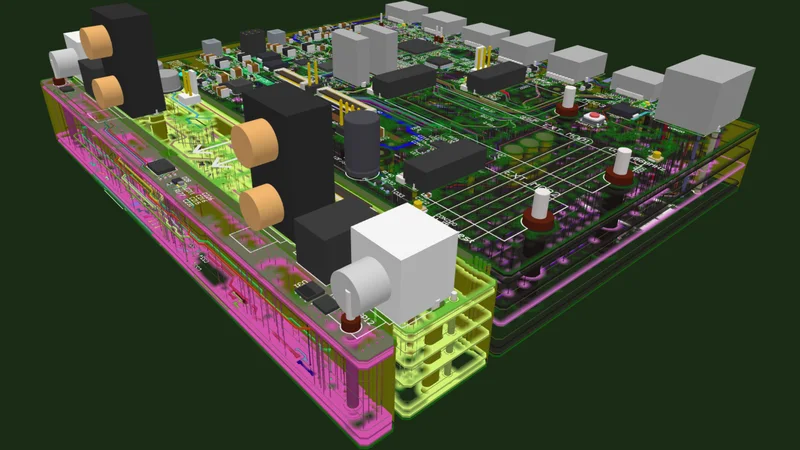
- Peel top layer: F6
- Cut cross-section: Hold Delete + move mouse to set the angle (45° steps; add Shift for any angle); hold Delete again + move mouse to move the cut; Escape to leave (or right-click → Set Measurement Target → Cross-cut)
- Toggle components: Checkbox in right panel
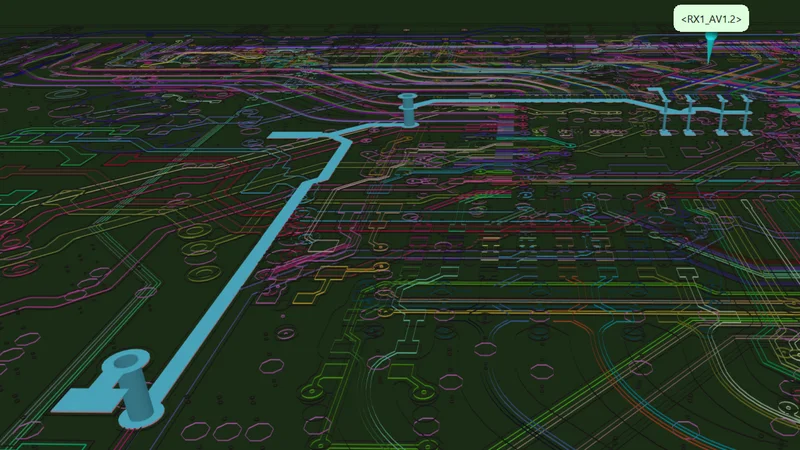
- Highlight a net: Click any trace or pad
If your BOM and netlist were loaded correctly, you will see your components placed in full 3D, exactly as your board will look when it comes back from assembly.
Navigation controls in the User Manual →
5. Where to go next
You have loaded your first board. Here is where to go next:
- Inspect components, nets and holes in detail → User Manual: Navigate and Inspect
- Take precise measurements → User Manual: Measurements
- Export a STEP file for mechanical CAD → User Manual: STEP Export (plugin)
- Compare two board revisions → User Manual: Compare Designs (plugin)
- Get answers to specific questions → FAQ
- Contact support → support@check-pcb.com